M3.C2: How To Set Up WordPress For Affiliates
by Abhigyan
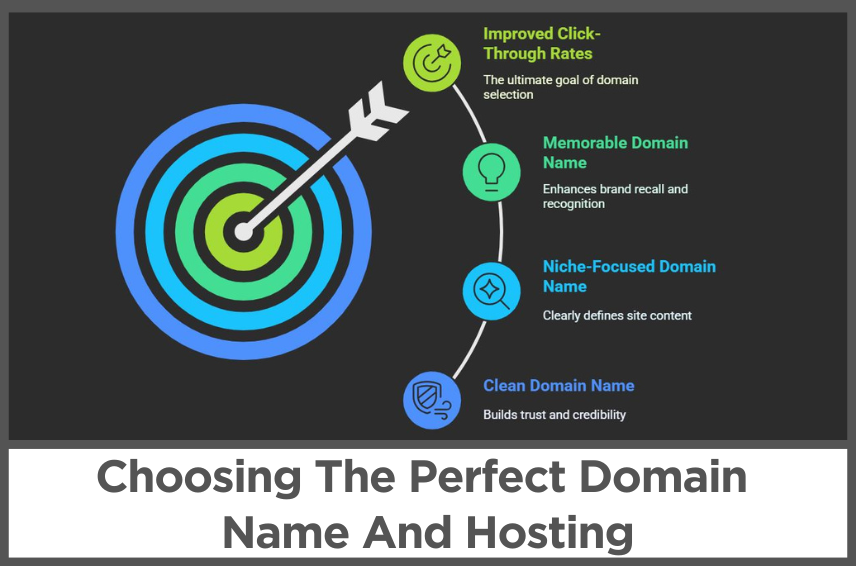
If you’ve already chosen your domain name and hosting provider, congratulations—you’re officially laying the foundation for your affiliate marketing journey.
Now it’s time to bring your website to life using WordPress. This step is where your ideas begin to take shape, your content finds a home, and your brand starts growing.
WordPress is the perfect platform for affiliate marketers because it’s powerful yet beginner-friendly, and setting it up through Hostinger is refreshingly straightforward.
Installing WordPress is similar for most popular web hosts, but for the sake of this tutorial, we’ll proceed with Hostinger.
These guidelines will give you an idea of how to install WordPress on your preferred web host.
If you are having trouble choosing a web host, make sure to check out this list of web hosts that offer one-click WordPress installation.
Let’s get started by understanding why WordPress is the go-to choice for affiliate marketers like you.
Disclosure: Some of the links I share might be affiliate links. If you click on one and make a purchase, I may earn a small commission as a thank you. But don’t worry, it won’t cost you anything extra. I only recommend stuff I genuinely believe in. Your support helps me keep creating awesome content. You can read my full affiliate disclosure in my disclaimer page.
IN THIS POST :
ToggleWhy Affiliate Marketers Prefer WordPress
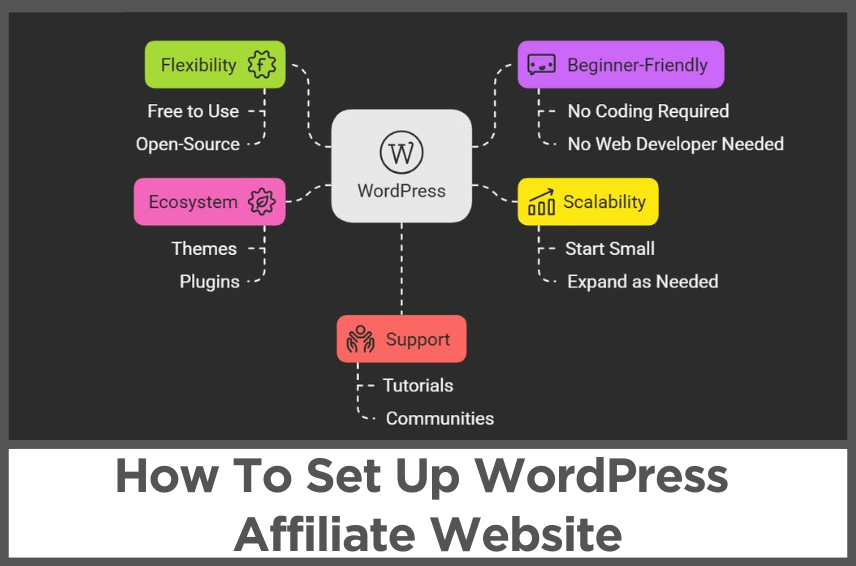
When it comes to building an affiliate website, you have plenty of options—but none as flexible and beginner-friendly as WordPress.
WordPress powers over 40% of all websites on the internet, and there’s a good reason why so many affiliate marketers rely on it.
It’s completely free to use, open-source, and packed with features that help you publish content, optimize for search engines, and customize every aspect of your site to match your brand.
You don’t need to know how to code or design, and you don’t need to hire a web developer to get started.
WordPress is also incredibly scalable, which means it grows with your business.
You can start small with a few product reviews or blog posts, and as your traffic and income increase, you can expand your site with new categories, tools, landing pages, or even a digital store.
The ecosystem of themes and plugins makes it possible to do almost anything—whether you’re building an Amazon niche site, a coupon blog, or a product comparison platform.
Plus, since WordPress is widely supported, you’ll find tutorials, communities, and support for any questions that come up along the way.
Accessing Your Hostinger Dashboard
Once you’ve purchased your hosting plan and domain through Hostinger, your first step is to log into your Hostinger account.
When you sign in, you’ll land on the dashboard where you can manage everything related to your website.
Hostinger uses a custom control panel called hPanel, which is designed to be beginner-friendly while still giving you access to all the important tools.
From the main hPanel dashboard, you’ll see your domain name listed under the “Websites” section.
Click on “Manage” next to your domain to open up the control panel for that specific site.
This is where you’ll find everything from your file manager to email setup to the WordPress auto-installer.
The layout is clean and easy to navigate, and Hostinger provides helpful tooltips if you ever feel unsure about what a setting does.
You don’t need to explore everything right now—our focus is on getting WordPress installed and up and running.
Installing WordPress Using Hostinger’s Auto-Installer
Installing WordPress through Hostinger couldn’t be easier, thanks to their one-click installer.
In your hPanel, scroll down until you find the “Website” section, and click on “Auto Installer.”
You’ll see a list of popular applications, and WordPress should be right at the top. Click on the WordPress icon to begin the setup process.
Next, you’ll be asked to choose the domain you want to install WordPress on.
If you purchased a domain during signup, it should already be available in the dropdown menu.
After selecting your domain, you’ll need to set a few basic details like your website title, administrator username, password, and email address.
It’s important to choose a secure and unique username and password for your WordPress admin area—this helps keep your site protected from unauthorized access.
Once everything looks good, click the “Install” button. Hostinger will begin setting up WordPress on your domain, and within a minute or two, your site will be live.
You’ll receive a link to access your new WordPress dashboard, which looks something like yourdomain.com/wp-admin.
This is where you’ll log in to manage your content, themes, settings, and everything else moving forward.
Configuring Basic WordPress Settings
Now that you’re inside your WordPress dashboard, it’s time to adjust a few important settings.
These small tweaks will make your site easier to use and more optimized for search engines.
Start by going to the “Settings” menu in the left sidebar and selecting “General.”
Here, you can set your site title and tagline. Your title is typically your brand name or niche keyword, while the tagline can be a short phrase describing what your site is about.
Don’t worry too much about getting it perfect—you can always change it later.
Next, head over to the “Permalinks” settings. Permalinks are the structure of your URLs, and by default, WordPress uses a format that’s not very clean or SEO-friendly.
Select the “Post Name” option, which creates simple URLs based on your blog post titles. This helps both search engines and visitors understand your content better.
While you’re in the settings area, take a moment to set your time zone, preferred language, and date format under the “General” section.
This helps keep your scheduling and timestamps accurate.
Then, click on “Discussion” settings and consider unchecking the options that allow random users to post comments freely.
This reduces spam and gives you more control over your comment section as your site grows.
Activating A WordPress Theme
One of the most exciting parts of setting up your site is choosing how it looks.
WordPress themes control the layout, colors, typography, and overall design of your website.
From the WordPress dashboard, click on “Appearance” and then “Themes.” You’ll see a list of installed themes and the option to “Add New.”
Here, you can browse thousands of free themes, sorted by popularity, features, and categories.
As a new affiliate marketer, look for themes that are lightweight, mobile-friendly, and easy to customize.
Themes like Astra, GeneratePress, and Kadence are great starting points—they’re fast, clean, and perfect for building affiliate blogs or review sites.
You can preview any theme before activating it to see how your content will look. Once you find one you like, click “Activate” to apply it to your site.
You can now go to “Appearance” > “Customize” to tweak your theme’s settings. This includes your logo, colors, font styles, and homepage layout.
Most modern themes offer a live preview so you can see changes in real time. Don’t stress about making everything perfect right away.
The beauty of WordPress is that you can always revisit and refine your design as you build more content and learn what works best for your audience.
Setting Up Key Pages For Your Affiliate Site
Before you start writing blog posts or reviews, it’s a good idea to create a few essential pages that every affiliate site should have.
From your WordPress dashboard, go to “Pages” and click “Add New.” Start with a Home page, which introduces your brand and tells visitors what your site is all about.
Next, create an “About” page where you share your story or mission. Even if you’re just starting out, letting readers know who you are builds trust and sets you apart.
You should also create a “Contact” page so that people can reach out if they have questions or partnership opportunities.
And finally, create a “Blog” page that will house all your affiliate articles and product reviews.
You don’t need to write full content for these pages just yet—just adding placeholder text is enough to structure your site and make it feel more complete.
Once your pages are created, head over to “Appearance” > “Menus” and add them to your main navigation menu.
This is the menu that appears at the top of your site, helping users find their way around.
Organizing your menu now will make your site feel more polished and user-friendly, even if you only have a few pages live.
Understanding The WordPress Dashboard
When you first log into WordPress, it might feel a bit overwhelming, but you’ll quickly get the hang of it.
The left-hand sidebar is your command center, giving you access to everything from your posts and pages to your themes, plugins, and settings.
Click on “Posts” to create new blog entries like reviews or tutorials. “Pages” is where you’ll build your static content, like your About or Contact page.
Under “Appearance,” you can change your theme, customize your design, and manage menus or widgets.
The “Media” section is where all your images and videos are stored. As you add affiliate content, you’ll be uploading screenshots, product photos, and graphics here.
The “Comments” section lets you manage feedback from your visitors, and under “Users,” you can add team members or editors if you plan to scale your site in the future.
Take a few minutes to explore these sections and familiarise yourself with the interface.
You won’t need every option right away, but knowing where things are makes future tasks much easier.
You’re now officially in control of a powerful website platform that will support your affiliate business for years to come.
What’s Next?
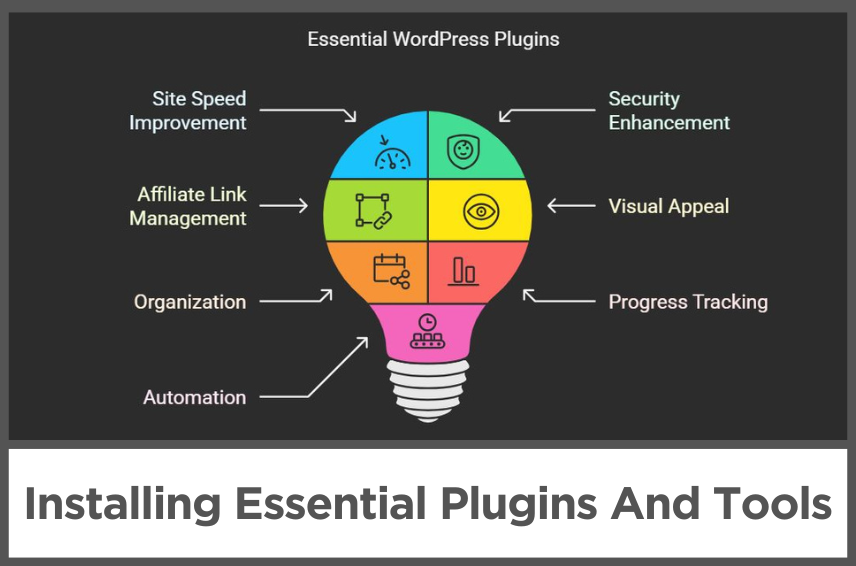
Now that your WordPress site is installed and configured, you’re ready to enhance its functionality with plugins.
Plugins are like apps for your website—they let you add features like SEO tools, contact forms, performance boosters, and much more.
In the next chapter, we’ll take a look at the essential plugins every affiliate marketer needs, how to install them, and how to make the most of their features.
Next Chapter:
Previous Chapter:
Abhigyan Mahanta
Hi! I’m Abhigyan, a remote web developer and an affiliate blogger. I create beginner-friendly guides to help new affiliates get started and grow in affiliate marketing. I also share information on remote companies and interview preparation tips.

